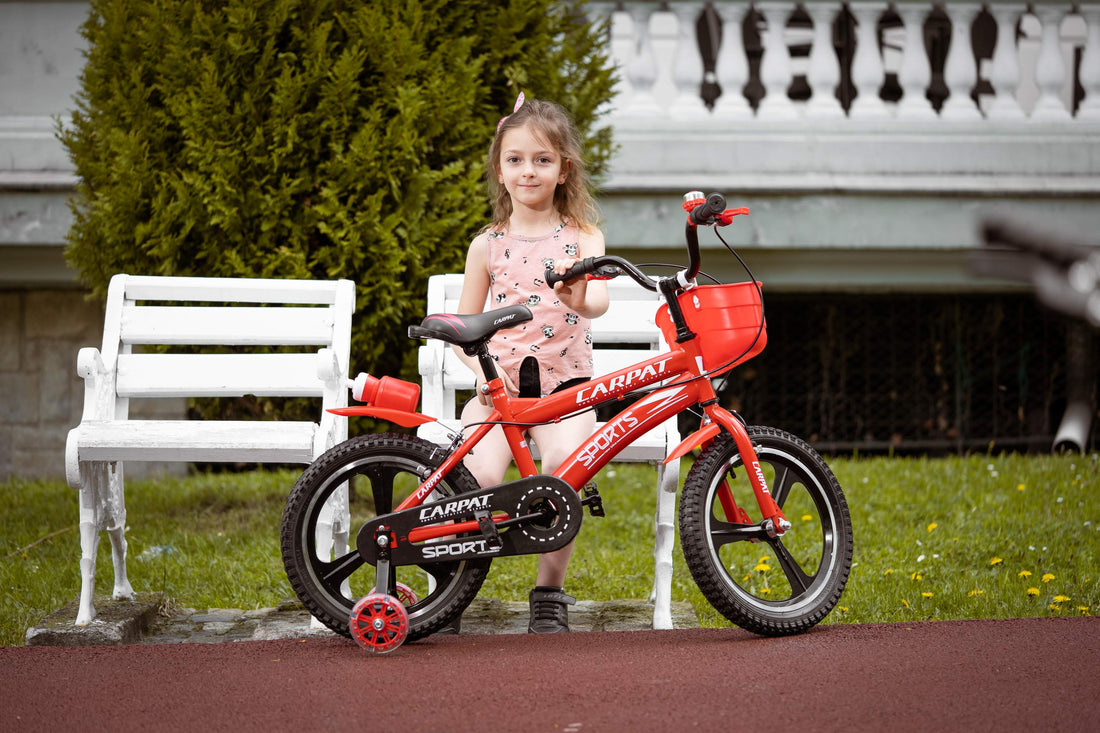
How to install a children's bicycle
Share
When it comes to installing a children's bicycle, safety and proper assembly are key. Follow these steps to ensure your child's bike is ready for a fun and safe ride.
Step 1: Unpack the Bicycle
Start by carefully unpacking the bicycle from its packaging. Check for any damage or missing parts before proceeding with the assembly.
Step 2: Attach the Handlebars
Securely attach the handlebars to the stem of the bicycle. Make sure they are straight and tightened properly to avoid any accidents while riding.
Step 3: Install the Wheels
Next, install the wheels onto the frame of the bicycle. Ensure that they are aligned correctly and securely fastened to prevent any wobbling or instability.
Step 4: Adjust the Seat Height
Adjust the seat height according to your child's comfort and safety. The seat should be at a height where your child's feet can touch the ground while sitting on the saddle.
Step 5: Check the Brakes
Test the brakes to make sure they are functioning properly. Adjust the brake pads if necessary to ensure smooth and effective braking when needed.
Step 6: Inflate the Tires
Check the tire pressure and inflate them to the recommended PSI. Properly inflated tires will provide a smoother ride and better traction on different surfaces.
Step 7: Final Safety Check
Before letting your child ride the bicycle, do a final safety check. Make sure all bolts and nuts are tightened, the chain is lubricated, and the bike is free of any sharp edges or protruding parts.
By following these steps, you can install a children's bicycle properly and ensure a safe and enjoyable riding experience for your little one. Remember, safety always comes first when it comes to biking!